7.31.2011

GAD301: Alien Abduction Models with Textures

Overview

Sanitation Wall Unit and Sanitation Pod (empty).  I had a lot of problems with Maya's normal and AO maps from its Transfer Mapping.  I'll have to fix those later.

The sanitation pod has a transparent door area, however, there is no interior model at this time.  Only the wall unit has diffuse, normals, specular, and AO applied to it.  The center pod has only a diffuse map applied so far.


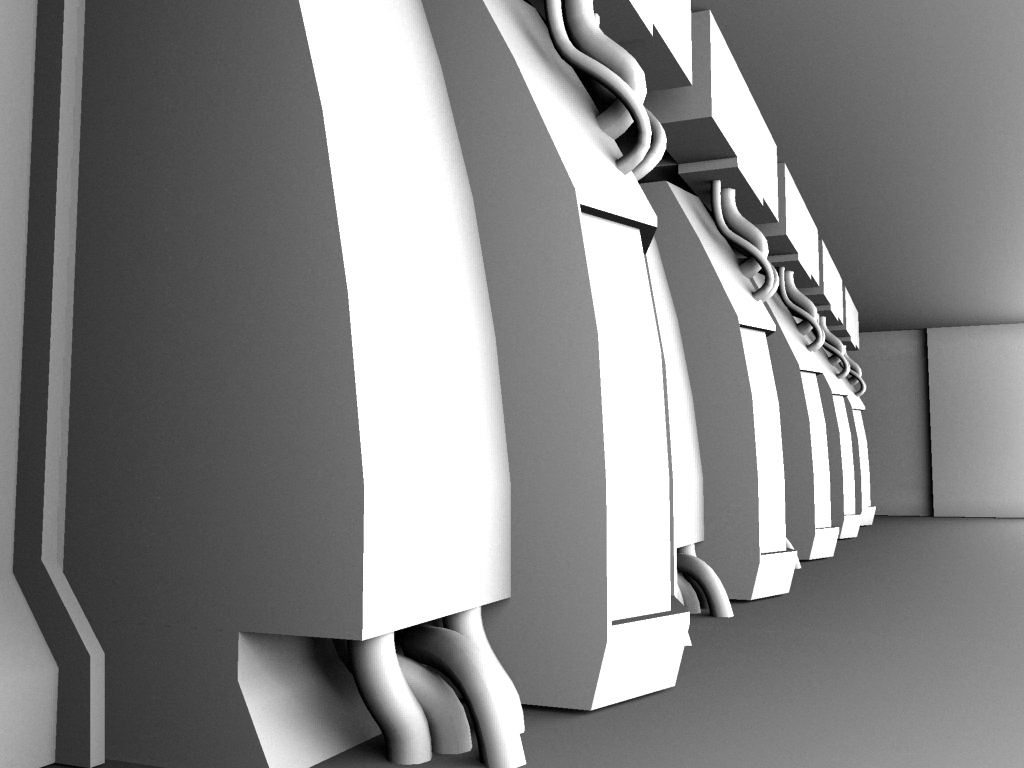
 2 models: wall unit and pod. Click image to enlarge.

Texture details.  Click image to enlarge.

 Texture details. Click image to enlarge.


Texture Maps (2048x2048)

Maya 2011 seems to have trouble making useable normal and AO transfer maps.


Diffuse Map for the wall unit.  There is a color palette along the top.


Wall Unit: This is the original AO map that Maya 2011 created for me...worthless.


Wall Unit:  I used the bad normal map (with orange areas) with a hand painted normal map over it.


Wall Unit:  This is the AO map I painted and used instead of Maya - takes too much time to make these.


Wall Unit: Specular map with a touch of green.


 Sanitation Pod: Diffuse map.

Sanitation Pod: simple transparency map for the front door area of the pod.

I haven't finished hand painting the normals and AO maps for the pod model (since Maya's maps will not work).  After those are complete, I can quickly make the specular map for this model.

7.20.2011

GAD301: Alien Abduction Facility - Buttress Models

Overview

The Physical Experimentation Room is a spiritual place for the aliens.  Like societies that pray to a god for sacrificing animals for food and materials, the aliens view experimentation on the lesser species of our planet, including humans, to be necessary yet perhaps a little cruel.  Thanks is given for the opportunity to use the bodies and spirits of the specimens experimented on, and proper respect must be shown.

Great alien buttresses encircle the Experimentation Room.  They service several functions, both secular and scientific.  Lights, power and materials funneled and vented into the room through the buttresses.


Buttress Models with support beams
The entire buttress system reached up 3 levels, with the first 2 levels filled with windows between each buttress.  The third level creates a slanted ceiling.


3 models shown: buttress, straight support column, and an angled support column


UVs for buttress (the sharp, angular part) (2048x2048)

UVs for straight support column (2024x2048)

UVs for angled support column


Bird's Eye view of buttresses as arranged around the experimentation area

13 buttresses encircle the experimentation area


Human Eye view from within the experimentation area

the space between the buttresses will be filled
with window sections on the bottom two levels


Additional assets will be added, such as vents, ducts, lights and wires.

7.19.2011

GAD301: Alien Abduction Facility Level - Corral Hallway Models and UVs

Overview

This area of the level is where humans and other animals are contained while awaiting experimentation by the aliens.

The upper hallway has a row of containment pods which hold and sanitize the specimens.  Once the process is complete, the specimen is lowered within the pod to the lower hallway.

In the lower hallway, the specimen is hold in stasis until needed.  This hallway leads to the Physical Experimentation room and the Destruction Room.


3D Models

Upper Level Corral Hallway Wall Unit (16' x 13.5 ')

This render shows 4 models: The wall unit, the sanitation pod, and the left and the right sets of pipes (which will have different textures)


4 models: wall unit, sanitation pod, 2 sets of floor pipes


UVs for the sanitation wall unit (2048x2048)


UVs for the sets of pipes (1024x1024)


Upper Level Containment / Sanitation Pod

sanitation pod

UVs for sanitation pod (2048x2048)


Lower Level Holding Hallway Wall Unit (16' x 13.5')

This render shows 8 models: the wall unit, the stasis pod, the 4 sets of pipes (same models as upper level), a large straight pipe, and a clamp for large pipes.

6 models: wall unit, stasis pod, straight pipe, pipe brace, 2 sets of pipes (same as above)


UVs for stasis wall unit (2048x2048)

 UVs for straight pipe (1024x1024)

UVs for pipe brace (1024x1024)


Lower Level Holding Pod


UVs for stasis pod (20248x2048)


Combined assets showing half the hallway as it would be in the level


Upper Level - View from average human height


Lower Level - View from average human height

7.17.2011

CONCEPT ART - Secret Alien Abduction Facilty

Background and Environment Design
Summer 2011

Basic Floor Plans for level


Upper Level of Facilty


 click image to enlarge


Lower Level of Facility


click image to enlarge

7.10.2011

SCULPTURE - Ghorimir Character Design

I've been playing around with character ideas from the Forgotten Realms universe.  This character idea came from wondering why, with all the crazy creatures in the Forgotten Realms, there are no giant dwarfs.  So I decided to make one.


 click image to enlarge

Ghorimir Yinyiamor
Clay and Wood
Height 9" by Width 6.5"
About 5 days of work


Ghorimir was born of the dwarven priestess,  Gladia of House Yinyiamor, during the rein of Mithral Hall’s founding king, Gandalug Battlehammer.  Gladia was deeply saddened by the lost of both parents and brother during a great war against the drow dark elves.  The war left Mithral Hall and her heart in ruins.  Like many of the other dwarf remnants, she left her home in Garumn’s Gorge, the place of Mithral Hall, and set out on her own.

Many years later, Gladia sought out a small band of Battlehammer’s kin living in the icy mountains of Iceland Dale.  It was apparent that she was with child and soon after arriving, she gave birth to Ghormimor, the largest baby dwarf any has ever seen.  The birth was too much for Gladia and she passed away just moments after birth.


Photoshop concept sketch - click it to enlarge
will finish this concept art later


Though the name and nature of Ghormimor’s father died with Gladia, rumors grew as quickly as Glorimor that Gladia had fallen in love with, or perhaps she was raped by, a giant.  For Ghorimor grow to be so large a dwarf that is was obvious he would be at least twice as large as the average dwarf.  By the age of 17, Ghorimor stood at 6 feet tall, fully 2 feet taller than any Battlehammer, and twice as wide.


blocking out the anatomy


Angered and guilt-ridden over the death of his mother, when Ghorimir became of age, he left the the Battlehammer clan for the open road in search of answers to his questions.  Who is his father?  What happened to his mother during those many years in the wilderness?  Why did she return to the dwarves to get birth instead of remaining with his father?


Back side and detail - click images to enlarge


Like all dwarfs, Ghorimir is extremely strong and skilled with heavy melee weapons.  If he is indeed half giant, then that would explain his strength of 20 dwarfs.  In addition, as giants are well know for the accuracy in throwing rocks, Ghorimir has proven his ability to throw an axe many years to hit small moving targets.  He prefers the great, two-handed battle axe Amathin, forged by king Gandalug, which he is able to wield with one hand.


back detail showing Amathin - click image to enlarge


Amathin was forged by king Gandalug during his first 100 years of rule.  It is one of 6 great axes created by the master weapons smith, and the only one known to still be in existence.  Amathin is solid mithril, the hardest of the known metals and the easiest to enchant, and, like all of its kin, Amathin is a sentient weapon.  Runes carved along each edge of the four blades glow red and offer powerful abilities to whomever the axe allows to be its possessor. 


front view detail - click image to enlarge


Ghorimir has increased balance, agility and stamina so long as the axe is in his grasp.  If Ghorimir throws Amathin towards a target, the axe becomes a flaming blade that easily burns through its target.  As with all good dwarven weapons forged by kings, Amathin returns to Ghorimir’s hand when its name is called.


front face detail - click image to enlarge